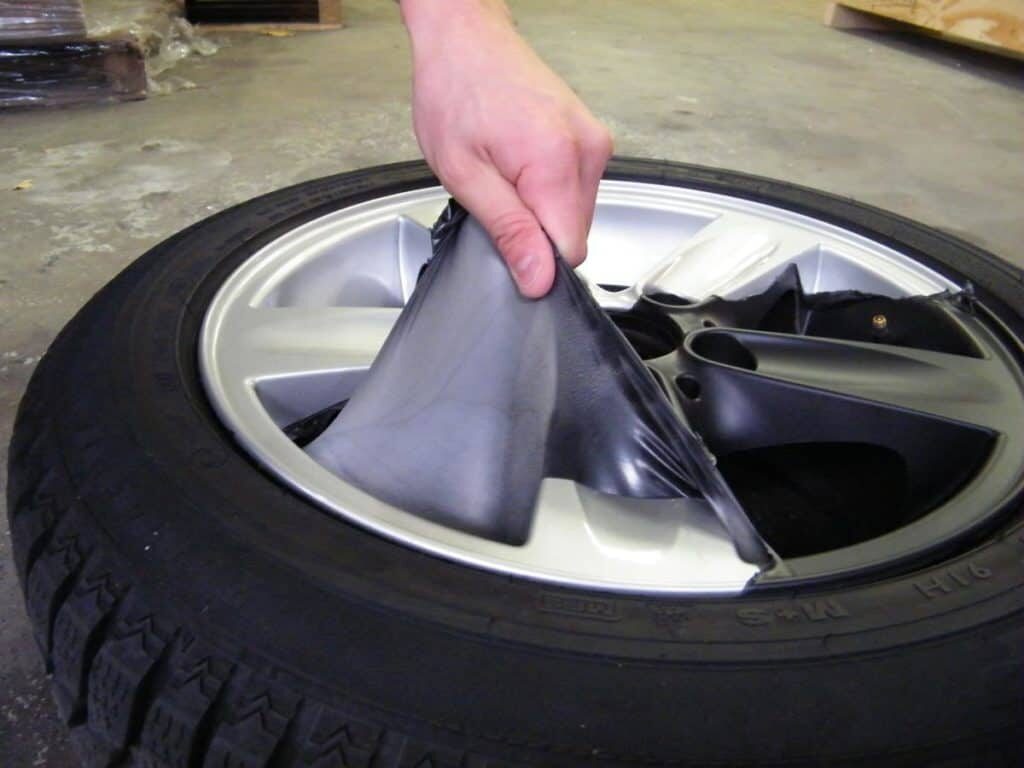
Do you want to know how to remove plasti dip from rims? Sometimes, people want to get rid of their Plasti Dip applications on their rims, either because they are tired of the look, it isn’t for them, or because they just want to see the natural chrome or metal of their vehicle’s rims.
Because of this, there are a lot of folks out there who wonder about just how to remove Plasti Dip from rims specifically. To start, if you’ve used Plasti Dip on your car, you didn’t necessarily make a huge mistake. Plasti Dip, when used correctly, can add a huge amount of flavor and spirit to your vehicle, especially if you’ve applied it to your automobile’s rims.
I’m a fan of the Plasti Dip experience. It gives you many options for color and style on various aspects of your vehicle, but I like to switch it up from time to time. With this in mind, I thought I’d throw together a little guide about removing it.
What You’ll Need To Remove Plasti Dip From Your Rims
Firstly, I’d like to make one thing clear: the number of layers of Plasti Dip will greatly affect how easy it is to remove. Since Plasti Dip is something that is usually done by the vehicle owner, some people don’t know that you should apply several layers of the dip to the object that you wish to color.
Plasti Dip tends to be too textured with one or two layers and it becomes very hard to remove. With this in mind, for a thin application of Plasti Dip, you’ll need:
- Goo Gone
- Microfiber Cloth
- Paper Towel
- A Plastic Razor
- Gloves
Ensure that you don’t purchase the Goo Gone Painter’s Pal because it doesn’t do the job of removing Plasti Dip. Additionally, you can also use a few other products for this Plasti Dip removal process. Here are a few alternatives:
- WD40
- Tire Wet Gel
- Bug and Tar Remover
Each of these alternatives can provide varying performance. Personally, WD40, which is probably the second most popular method, works well, but if you plan on using it, you’ll have to apply it and let it sit for a longer period. The remaining options work, but in my opinion, to a lesser degree than the Goo Gone.
Step By Step Instructions
Step one: Get the right materials
It’s important to note that it’s best to use a plastic razor rather than a traditional one for removing your Plasti Dip. This is because it’s very hard for a plastic razor to nick your clear coat or damage the basecoat of your car. You’ll be using paper towels to evenly distribute the Goo Gone across the surface of the Plasti Dip.
I find that using a tougher brand that is more absorbent keeps the paper towel from shredding as I wipe evenly across the surface of my rims.
Step two: Remove your tires

While this isn’t 100 percent required, I find that fully removing the tire is best. This is because one of the best ways to remove Plasti Dip from rims is when the tire is lying down on the pavement or grass.
If you keep your tires on, gravity will make the Plasti Dip flow downwards across the surface of the rims, which can potentially cause it to not cover some areas as well as others.
To avoid this, grab your tire iron, remove the lug nuts, and lay your tire flat so that you can get to the rims more easily, and you can let the solution work through the dip.
Step three: Spray and work it in
Take your bottle of Goo Gone and spray it liberally across the surface of your rims. Since your rims will be prone, you should be able to get a thick layer on the rim material so that the Goo Gone can make the Plasti Dip easier to remove.
After it has sat on the surface of the rim for a few minutes, I like to use my gloves and my paper towels to run the solution into the dip somewhat. This ensures that I get a good degree of coverage, which will make the removal process far easier when I get to that step.
After it’s worked in, let the remaining Goo Gone dry; I usually give it about eight minutes.
See more:
- Easiest Way to Learn to Drive a Manual Transmission Car
- Top 5 Most Popular Cars Commonly Used by Kenyans
Step four: Time to scrape and wipe
Once the minutes have passed, get out your plastic razor. Plastic razors are safe, relatively cheap, and won’t damage your paint job.
For this stage, simply scrape along the surface of the Plasti Dip with moderate force. You don’t want to apply too much pressure because this is an easy way to fatigue yourself.
By now, the Goo Gone should have made the Plasti Dip much easier to remove from your rims, so even slight pressure should start the removal process.
While you will probably remove the majority of the material with the plastic razor scraper, you can also remove the dip from harder-to-reach areas with a simple microfiber cloth.
Simply scrub with the cloth on any area that you missed with the scraper.
Step Five: The clean-up stage

After you’ve removed the Plasti Dip from your rims, you may notice a lot of dirty-looking dust on the surface of your rim. This is just the powdered remnants of your Plasti Dip.
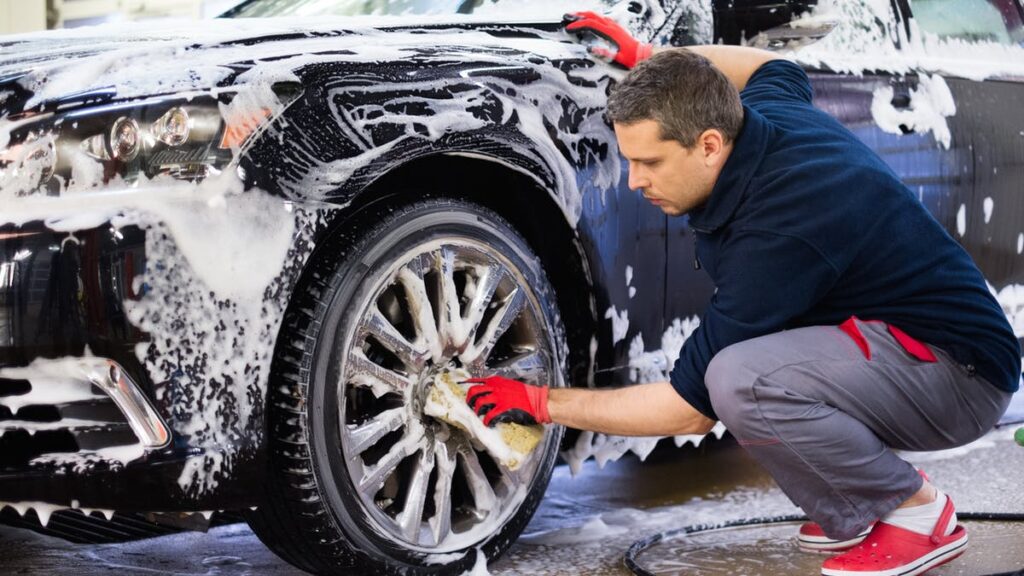
To remove this, simply use some soap and water and scrub the surface of your rims; making sure that you clean deeply into the crevasses with your microfiber cloth. Finally, once you have a lather on the surface of your rims, rinse with water, and you are done.
Wrapping It Up
Did you enjoy our tutorial? As I mentioned, I’m a Plasti Dip enthusiast who likes the design options that Plasti Dip affords me, so I often find myself coloring my rims and other parts of my vehicle more than once a year.
It’s an excellent way to have some self-expression on your vehicle, and I recommend it to anyone but removing the substance can be tough, so I hope this guide has helped you make it a little easier.
Let me know what you think in our comments section, and I will respond to you. If you liked this how-to article, please visit Car Repair for more interesting articles like this.


